Creating your own cement path might seem like a daunting task, but with the right guidance, it’s a project anyone can tackle. Imagine walking through your garden or backyard on a smooth, durable path that you crafted with your own hands. It’s not just a functional addition to your space, but also a rewarding experience. In this guide, we’ll explore easy methods and pro tips for creating a DIY cement path. Let’s dive in!
Table of Contents
Introduction
Creating a cement path is more than just a DIY project; it’s a chance to enhance the beauty and functionality of your outdoor space. Whether you want a pathway through your garden or a sturdy walkway from your driveway to your front door, a cement path is a durable and attractive solution. This guide will walk you through every step, ensuring you have all the knowledge and confidence you need to get started.
Why Choose a Cement Path?
Cement paths offer numerous advantages over other types of pathways. They are incredibly durable, capable of withstanding heavy foot traffic and harsh weather conditions. Unlike gravel or mulch paths, cement paths require minimal maintenance once they are properly installed. Additionally, a well-made cement path can enhance the aesthetic appeal of your yard, providing a clean and modern look that complements any landscaping style.
Materials and Tools You Need
Before starting your project, it’s essential to gather all the necessary materials and tools. Here’s a checklist to ensure you have everything you need:
- Materials:
- Cement mix
- Gravel
- Sand
- Water
- Reinforcement mesh or rebar
- Wooden stakes and boards for forms
- Tools:
- Shovel
- Wheelbarrow
- Level
- Trowel
- Cement mixer (or a sturdy mixing container)
- Measuring tape
- Gloves and safety glasses
Planning Your Cement Path
Proper planning is crucial to the success of your DIY cement path. Start by deciding the path’s location and size. Sketch a rough outline of the path on paper, noting any curves or changes in direction. Consider the natural flow of movement in your yard and choose a path that enhances that flow. Mark the path’s outline on the ground using stakes and string, ensuring it’s straight and even.
Preparing the Ground
Preparing the ground is a vital step to ensure your cement path has a solid foundation. Follow these steps:
- Clear the Area: Remove any grass, plants, or debris from the path area.
- Excavate the Path: Dig a trench about 6-8 inches deep, making sure the bottom is level.
- Add a Base Layer: Spread a layer of gravel about 3-4 inches thick in the trench. This base layer will improve drainage and stability.
- Compact the Gravel: Use a tamper to compact the gravel, creating a firm base for the cement.
Mixing Cement: The Right Way
Mixing cement might seem intimidating, but with the right approach, it’s straightforward:
- Read the Instructions: Follow the manufacturer’s instructions on the cement mix bag for the correct water-to-cement ratio.
- Mix Thoroughly: Combine the cement mix and water in a cement mixer or a large container. Mix until you achieve a uniform consistency.
- Check the Consistency: The mixture should be smooth and pourable, similar to thick pancake batter.
Pouring the Cement
With your path planned and the cement mixed, it’s time to pour:
- Set Up Forms: Use wooden boards and stakes to create forms along the edges of your path. Ensure the forms are level and secure.
- Pour the Cement: Starting at one end, pour the cement into the trench. Use a shovel to spread it evenly.
- Distribute Evenly: Work quickly to spread the cement, filling any gaps and ensuring a consistent thickness.
Smoothing and Finishing
After pouring the cement, it’s essential to smooth and finish the surface:
- Level the Surface: Use a long board to screed (or level) the surface by dragging it across the tops of the forms.
- Smooth the Cement: Use a trowel to smooth the surface further. For a non-slip finish, lightly drag a broom across the surface.
- Edges and Joints: Use an edging tool to create clean edges and a groover to add expansion joints, preventing cracks as the cement cures.
Curing the Cement
Curing is a critical step that ensures your cement path achieves maximum strength:
- Keep It Moist: Cover the path with plastic sheeting or damp burlap to retain moisture.
- Avoid Foot Traffic: Protect the path from foot traffic and other disturbances for at least 24 hours.
- Cure Time: Allow the cement to cure for at least a week before using the path. Full curing can take up to 28 days.
Pro Tips for a Durable Path
To ensure your cement path stands the test of time, consider these pro tips:
- Use Reinforcement: Adding reinforcement mesh or rebar to the cement can significantly increase its strength and durability.
- Proper Drainage: Ensure your path has adequate drainage to prevent water accumulation, which can weaken the cement.
- Regular Maintenance: Clean your path regularly and address any cracks or damages promptly to extend its lifespan.
Common Mistakes to Avoid
Avoid these common mistakes to ensure a successful DIY cement path project:
- Incorrect Mixing: Follow the cement mix instructions precisely to avoid weak or crumbly cement.
- Poor Ground Preparation: Skipping the gravel base or failing to compact it properly can lead to an unstable path.
- Rushing the Curing Process: Allow sufficient curing time to ensure the cement reaches its full strength.
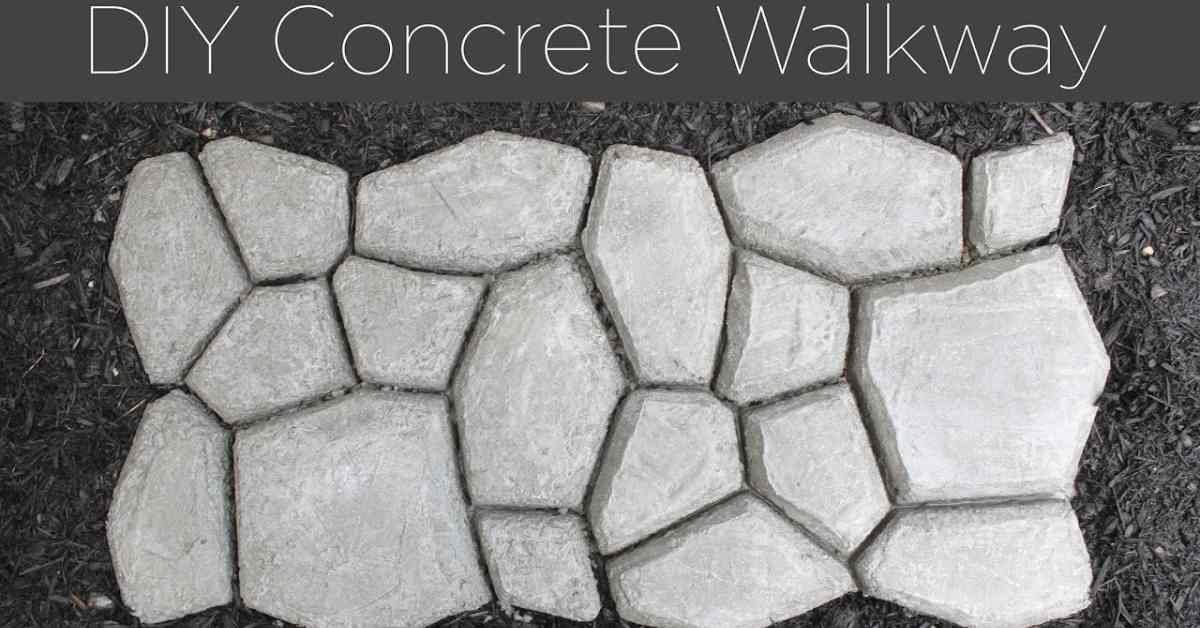
Decorative Options for Your Path
Personalize your cement path with these decorative options:
- Stamps and Patterns: Use stamping tools to create patterns or textures on the wet cement.
- Color Additives: Mix color additives into the cement to achieve a unique hue that complements your landscape.
- Embedded Objects: Embed small stones, shells, or tiles into the surface for a custom look.
Maintenance and Care
Proper maintenance will keep your cement path looking great for years:
- Cleaning: Sweep regularly to remove debris and wash with a garden hose as needed.
- Sealing: Apply a sealant every few years to protect the surface from stains and weather damage.
- Repairing Cracks: Fill any small cracks promptly with a cement patching compound to prevent them from spreading.
Conclusion
Creating a DIY cement path is a fulfilling project that enhances your outdoor space’s functionality and beauty. By following these easy methods and pro tips, you can achieve professional results without hiring a contractor. Take your time, plan carefully, and enjoy the process of transforming your yard with a durable and attractive cement path.
FAQs
Q1: How long does it take to build a DIY cement path?
A1: The entire process, including preparation, pouring, and curing, can take about a week, depending on the path’s size and complexity.
Q2: Do I need a permit to build a cement path?
A2: Permit requirements vary by location. Check with your local building authority to determine if a permit is needed for your project.
Q3: Can I build a cement path myself, or do I need professional help?
A3: Building a cement path is a doable DIY project with the right tools and guidance. Follow this guide carefully for best results.
Q4: What is the best time of year to build a cement path?
A4: The best time to build a cement path is during mild weather, avoiding extreme heat, cold, or rain, which can affect the cement curing process.
Q5: How can I prevent my cement path from cracking?
A5: Prevent cracks by ensuring a proper base, using reinforcement, adding expansion joints, and allowing adequate curing time.